🔐Create an allow list
Currently only working for EMV networks.
🔥 Use Cases
Loyalty to reward your community at discounted prices
Reward users by guaranteed access to the Minting
Ensure to get real buyers and no bots
You can use the Whitelist to allow people to a specific minting phase and Mint with a discount.
📝 Create allow list
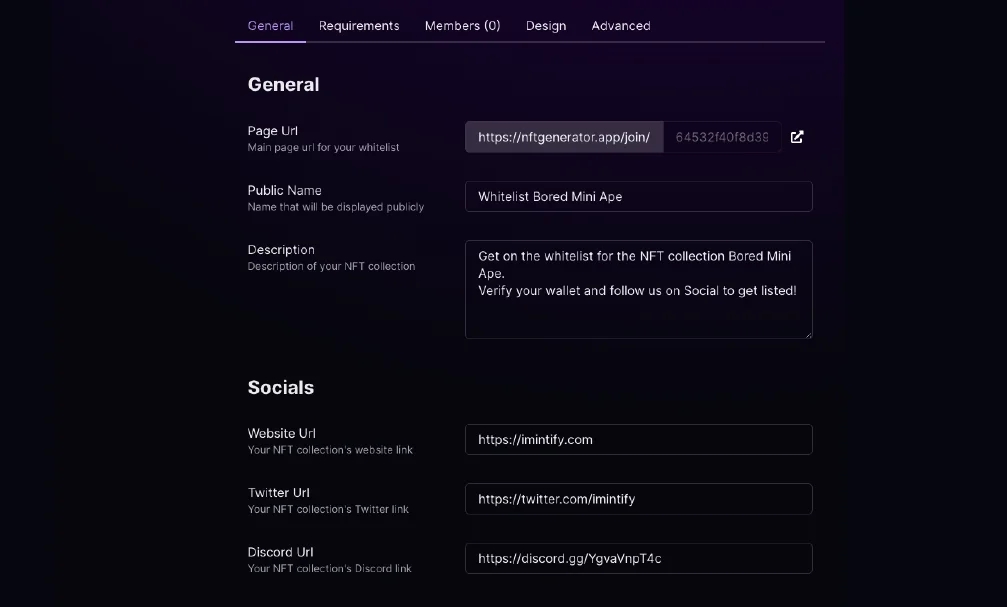
Press the Create Access list to create a new list. Next, you can fill in all your details, like the name, description, and social media accounts.
🤖 Fill in the requirements
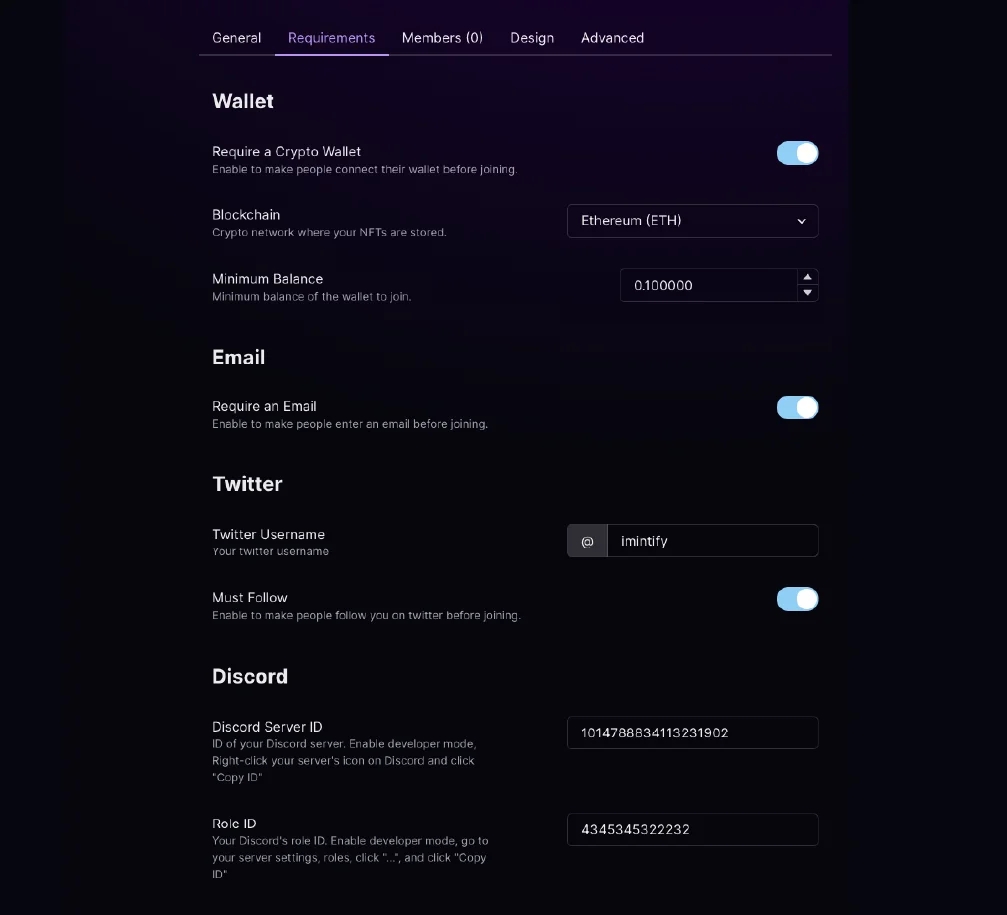
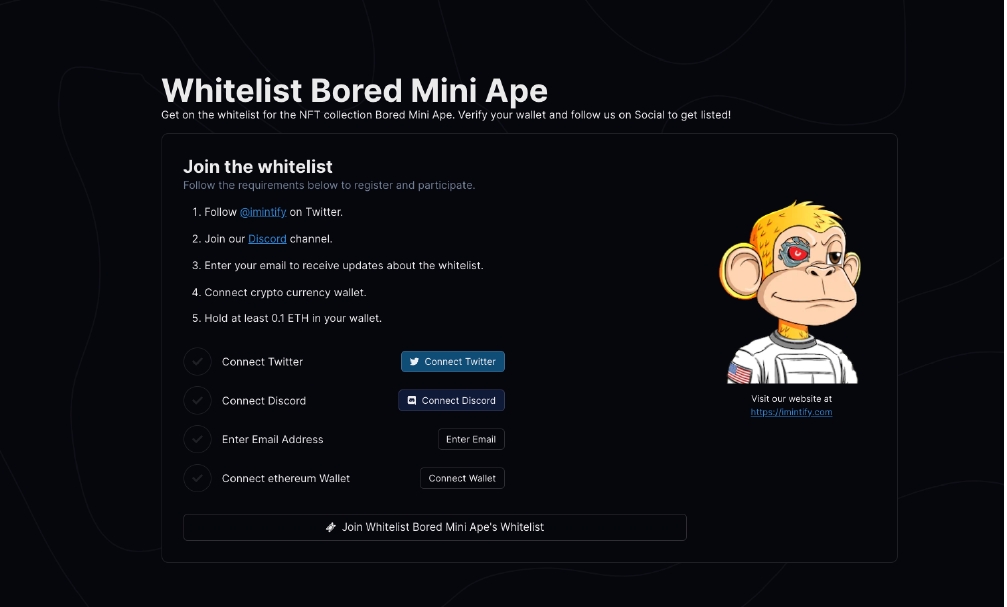
Now you can fill in the requirement, that is needed to allow users to sign up for the whitelist.
Here you can choose one or multiple requirements:
Require Crypto wallet
Require minimum balance
Require an Email
Required to follow Social media
Required to Join Discord
⚙️ How to Connect Discord
In case you want to require users to join your Discord. You need to add your Discord ID.
To Copy your Discord Server ID. Be sure you activated Developer mode.
First Enable developer mode
Click on the Server name and open Edit Server Profile
Scroll down to Advanced and enable Developer Mode
Right Click your server logo and Copy Server ID
Add Discord’s Role ID
Go to the Server settings of your Discord by clicking your server logo and opening Server settings.
Open Roles and Copy the ID of the roles you want to have once they join your Discord.
🎨 Add a custom logo or image
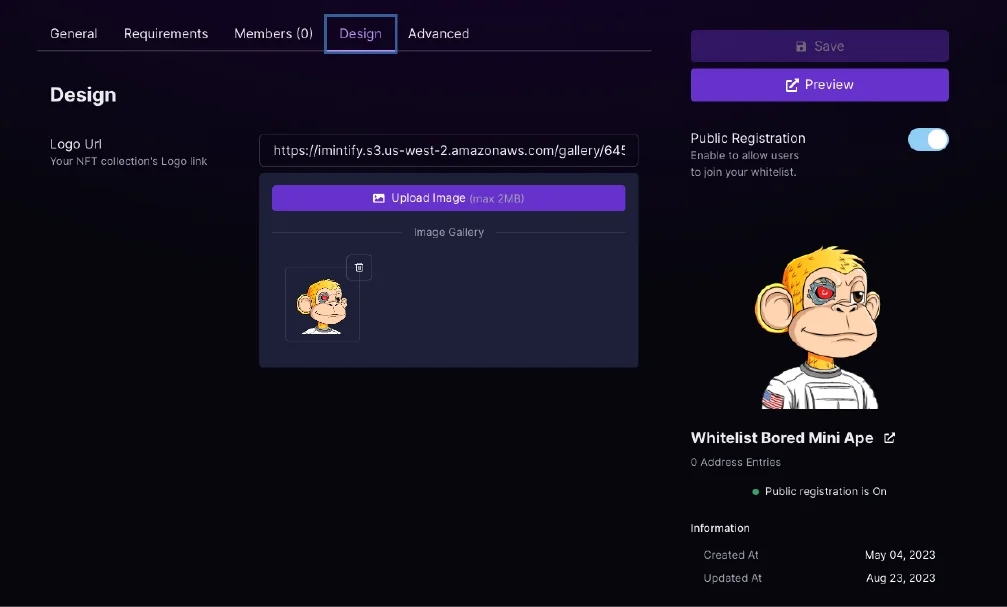
Go to the tab Design and upload a custom logo or image to show on your subscription page.
🔥 Premium options
When you have an active paid subscription, you can turn off the brand logo. And add connect a custom domain name.
Turn off the branding logo
Connect custom domain name
⬇️ Export & Import
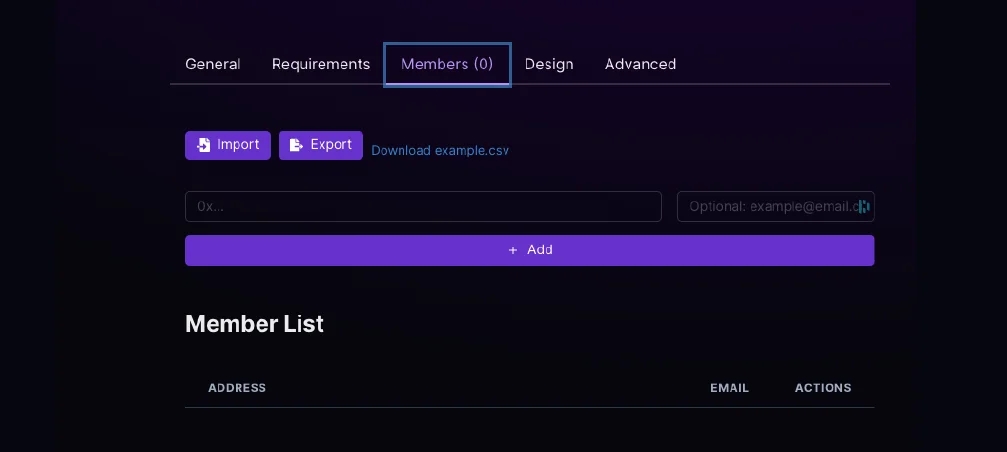
To import users from an existing CSV file, you can import to our whitelist. Or add users manually by filling in their contract address. And of course, you can export your complete list. Upload this list to your Smart Contract provider.
🚀 Preview & Share
Share the allow list with your community to let them sign up before minting.
Last updated